
Results for
We are here to help you find a solution that suits your business need.
Filter by

User Profiles
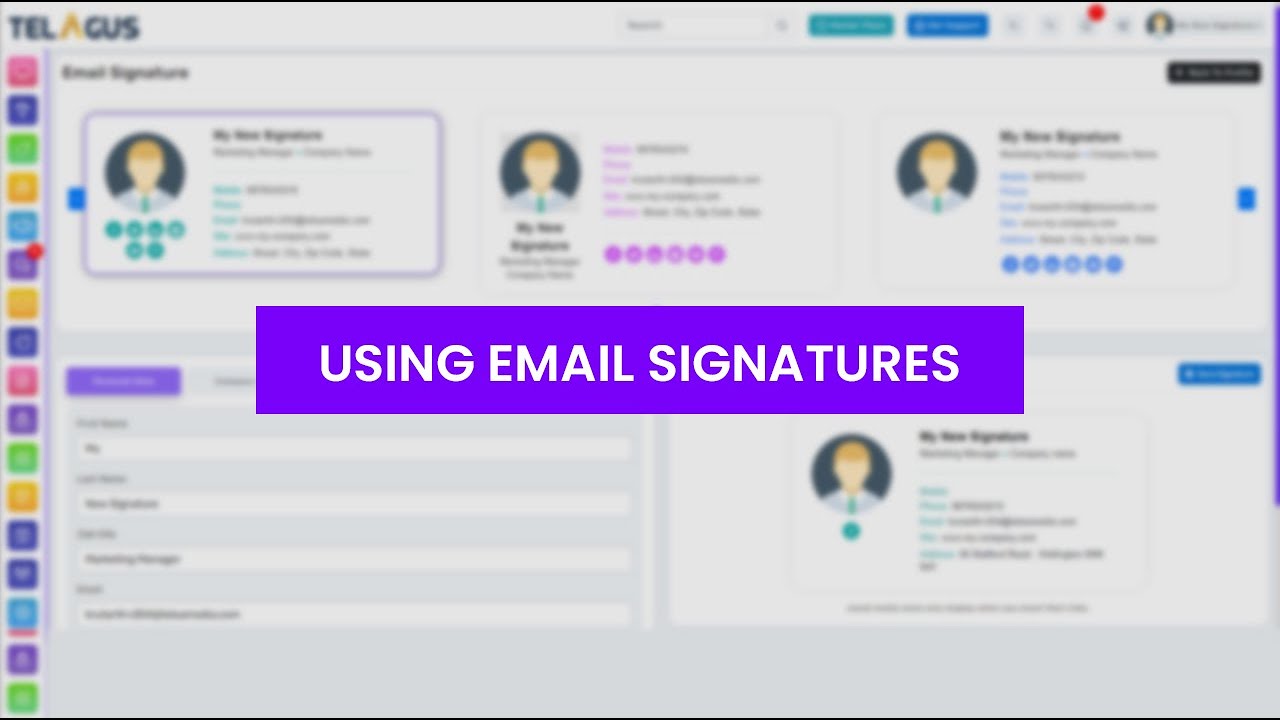
Using Email Signatures from Telagus
Hi there,
In this video, we’ll walk you through the process of creating and using different formats of email signatures with Telagus. Whether you want a custom design or prefer using templates, we’ve got you covered!
🔹 Getting Started:
Log In: First, log in to Telagus using your credentials. Click on your username in the top right corner and select “EDIT PROFILE.”
Access Signatures: Navigate to the "Signature" tab to explore the signature options available in Telagus.
🔹 Creating a Custom Signature:
Custom Signature: Click on the “Custom Signature” tab. Paste your HTML code into the provided field. The preview on the right side will update to show how your signature will appear.
Save: Once satisfied, click the “Save” button to apply the signature to your Telagus profile.
🔹 Using Signature Templates:
Template Signature: Click on the “Template Signature” tab to create a signature using Telagus’s built-in templates.
Add or Update Signature: Click “Add or Update Signature” to browse various templates. Use the navigation buttons to view more options.
Customize Template: Select a template you like and start editing:
Personal Data: Enter your First Name, Last Name, Job Title, Email Address, Phone Number, and Mobile Number. Changes will be reflected in the signature preview.
Company Data: Input your Company Name, Website, Address Line 1, and Address Line 2.
Social Media Links: Add your social media profiles (Facebook, Twitter, LinkedIn, YouTube, etc.). Icons will appear in the signature if links are provided.
Graphics: Add an image by entering the URL. If you prefer using your Telagus profile picture, right-click on your profile image, select “Copy Image Address,” and paste the URL into the Graphics tab.
Style: Customize the look of your signature by adjusting colors, fonts, and background styles. Use the “Restore Default Style” button if needed.
Save Signature: Preview your changes and click the “Save Signature” button when you’re ready.
🔹 Using Your Signature:
Create an Email: Go to “Marketing” in the left menu bar and select “Campaign.” Choose “Create Email” and decide between an Email Template or a Plain Email.
Apply Signature: Email Template: Select or create a template, go to “Settings,” and click “Select Signature” to add your signature.
Plain Email: Choose the plain email option and click “Select Signature” to apply it.
Preview: You’ll see a preview of your signature once applied.
Feel free to edit or create new signatures by following these steps anytime.
Stay tuned for more Telagus feature videos and updates.

Ready to see how it works?
Explore how Telagus can transform the way you manage leads, teams, and customers all from one powerful CRM platform.
