
Results for
We are here to help you find a solution that suits your business need.
Filter by

Leads Management
Mastering Telagus Leads: Reports, Assignment, Moving, and Deleting
Take your lead management to the next level with Telagus in this detailed video guide. Discover the extensive functionalities beyond the basics, including generating lead reports, assigning leads to team members, moving leads through your sales process, and the crucial steps for deleting leads when necessary.
This tutorial walks you through the Telagus interface, showing you how to effectively use search and filter options, sort your leads, and customize your display settings for a more efficient workflow.
Learn how to leverage the 'Lead Reports' feature to gain insights into your lead generation efforts, assign leads for targeted follow-up, and ensure your leads are always in the right stage of your pipeline. Whether you're looking to streamline your lead management practices or enhance team collaboration, this video covers everything you need to maximize your use of Telagus.
Stay tuned for more tutorials to explore all the capabilities of Telagus and keep your business growing.
Leads Management
How to Create New Forms in Telagus
Looking to streamline your lead collection process? Join us as we explore Telagus' Lead Forms feature! Learn how to effortlessly create custom forms to capture valuable lead data.
In this tutorial, we'll guide you through the process of creating and customising lead forms step by step. From selecting fields to setting form settings, we cover it all. Watch as we demonstrate how to tailor your forms to your specific requirements and efficiently manage lead data within Telagus.
Leads Management
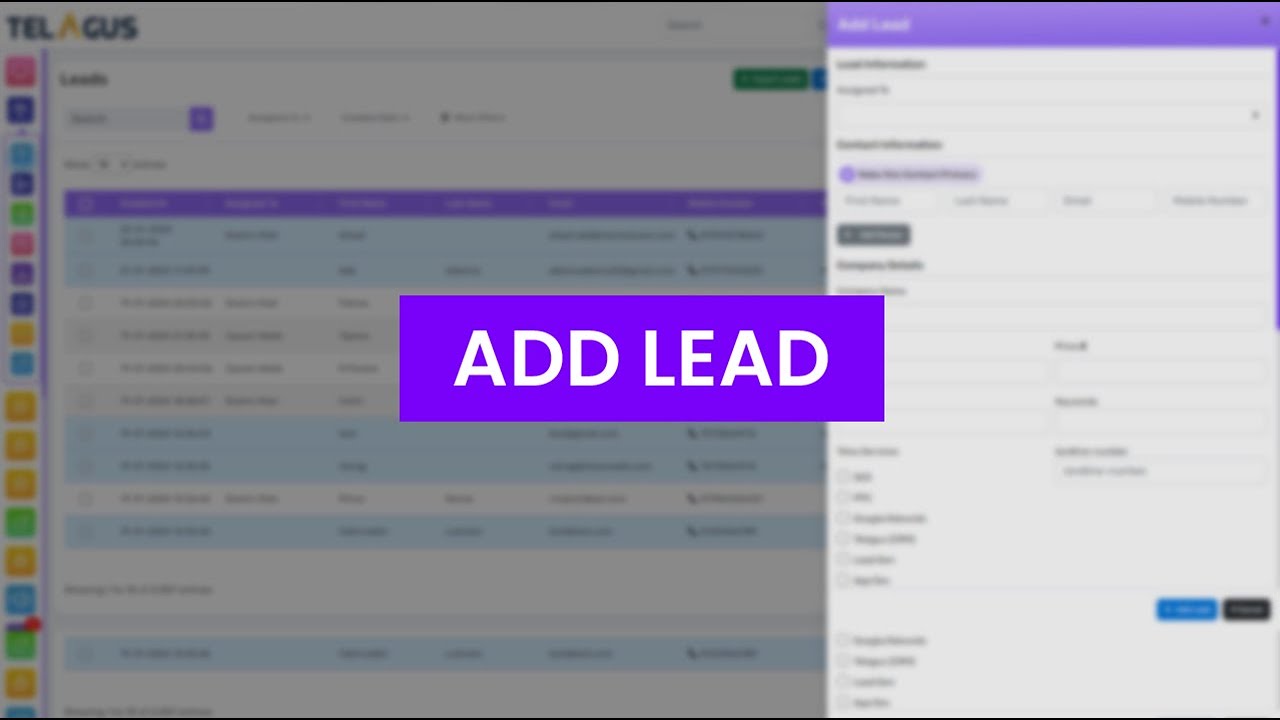
How to Add Leads Function in Telagus?
Welcome to our Telagus tutorial series! In this video, we'll guide you through the process of adding leads directly into Telagus using the "Add Lead" function.
Here are the steps for using the "Add Lead" function in Telagus:
1. Accessing the "Add Lead" Function: Click on the "Add Lead" button to open the menu for adding a lead.
2. Filling Lead Information:
A. Assigned To: Choose a team member to assign the lead to or leave it blank.
3. Entering Contact Information:
A. First Name, Last Name: Enter the lead's first and last name.
B. Email Address, Mobile Number: Provide the lead's contact details.
C. Adding Multiple Contacts: Click on "Add Person" to add multiple contacts per lead.
D. Defining Primary Contact: If adding multiple contacts, designate a primary contact by checking "Make this Contact Primary".
4. Entering Company Details:
A. Company Name: Enter the name of the lead's company.
B. Title for the Company: Specify the lead's position or title within the company.
C. Country, Notes: Add additional company information such as country and any relevant notes.
D. Price and Documents: Optionally, define a price for the lead and upload any relevant documents.
5. Reviewing and Saving: After adding all necessary details, review the information and click on the "Add Lead" button at the bottom of the page to save the lead in Telagus.
6. Canceling: If you decide not to proceed, you can always cancel by clicking on the "Cancel" button.
7. Confirmation: Once the record is saved, it will start displaying in the list on the Leads page.
By following these steps, you'll be able to efficiently add a lead to Telagus with all the necessary information.
Leads Management
'Import Leads' Function in Telagus
In this tutorial, we delve into the powerful features of Telagus' Leads function. If you're looking to streamline your lead management process, you're in the right place! Join us as we guide you step-by-step through the process of importing leads into Telagus with ease.
here are the steps outlined for your YouTube video:
1. Accessing the Leads Menu: Log in to your Telagus account and navigate to the Leads menu from the left sidebar.
2. Exploring All Leads Option: Click on "All Leads" to explore the options available for managing your leads.
3. Importing Leads: Learn how to import leads by clicking on the "Import Leads" button.
4. Downloading Sample File: Download the sample file provided to ensure correct formatting for your lead data.
5. Filling in Lead Details: Open the sample file, fill in the lead details accurately, and save the file.
6. Uploading Lead File: Upload the filled-in file to Telagus either by clicking the upload box or dragging and dropping the file.
7. Choosing Import Options: Decide whether to skip the first row and remove duplicates before importing.
8. Mapping System Fields: Match the system fields with the corresponding column data from your file.
9. Finalizing Import: Click on the "Import CSV" button to initiate the import process.
10. Confirmation Message: Upon successful import, a confirmation message will be displayed, and you'll be redirected to the All Leads page.
11. Reviewing Imported Leads: Check the All Leads page to ensure that the imported leads are displayed correctly.
By following these steps, you'll be able to efficiently import leads into Telagus and streamline your lead management process.

Ready to see how it works?
Explore how Telagus can transform the way you manage leads, teams, and customers all from one powerful CRM platform.
