Results for
We are here to help you find a solution that suits your business need.
Filter by

Finance
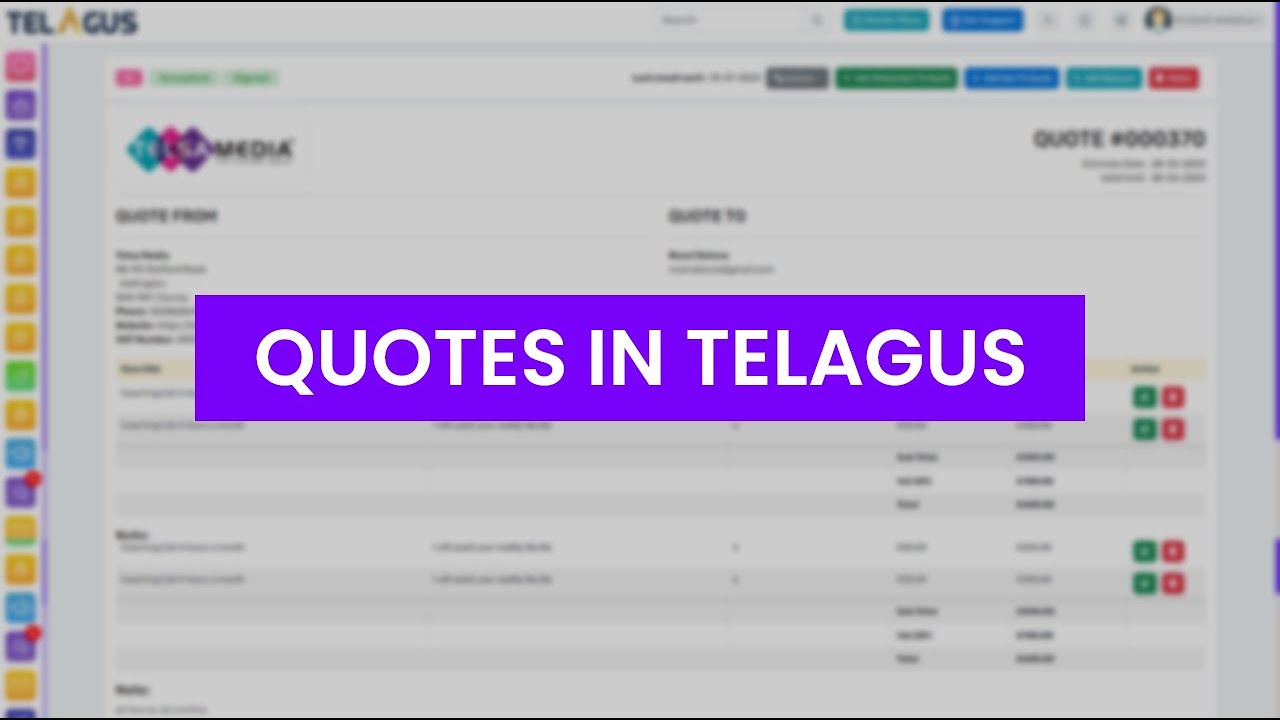
Using Quotes in Telagus
Welcome to our Telagus tutorial! In this video, we'll walk you through the entire process of creating, updating, deleting, and sharing quotations with your clients using Telagus.
Here’s what we’ll cover:
Logging In and Navigating to Quotes: Access and filter your list of quotations.
Creating a New Quote: Add a new quote by selecting a client, entering quote details, and applying discounts and taxes.
Adding Items and Attachments: Add items to your quote, attach files, and apply discounts.
Emailing the Quote: Send the quote to clients directly from Telagus and track their responses.
Managing Quotes: Learn how to clone, edit, or delete quotes, and download PDFs.
Watch this tutorial to master quoting in Telagus and streamline your finance processes. Don’t forget to explore our other videos for more tips and features!
Finance
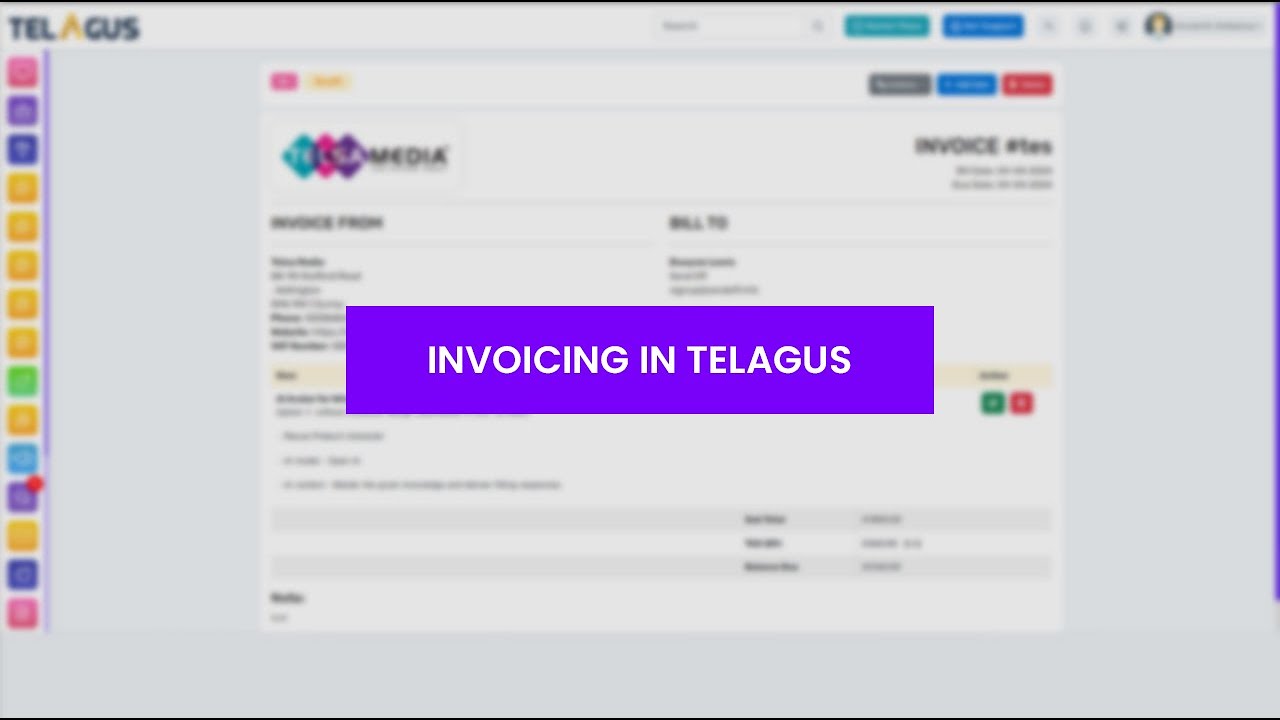
Use and Features of Invoicing in Telagus
Learn how to effortlessly manage your invoices with Telagus in this step-by-step tutorial! 🎥
In this video, we'll walk you through:
• How to create and customize invoices.
• Adding and managing items and taxes.
• Sending invoices to clients via email.
• Tracking invoice status and payments.
• Cloning, editing, and downloading invoices.
Follow along as we show you how to navigate Telagus's invoicing features to streamline your billing process. Perfect for beginners and seasoned users alike!
Integrations in Telagus
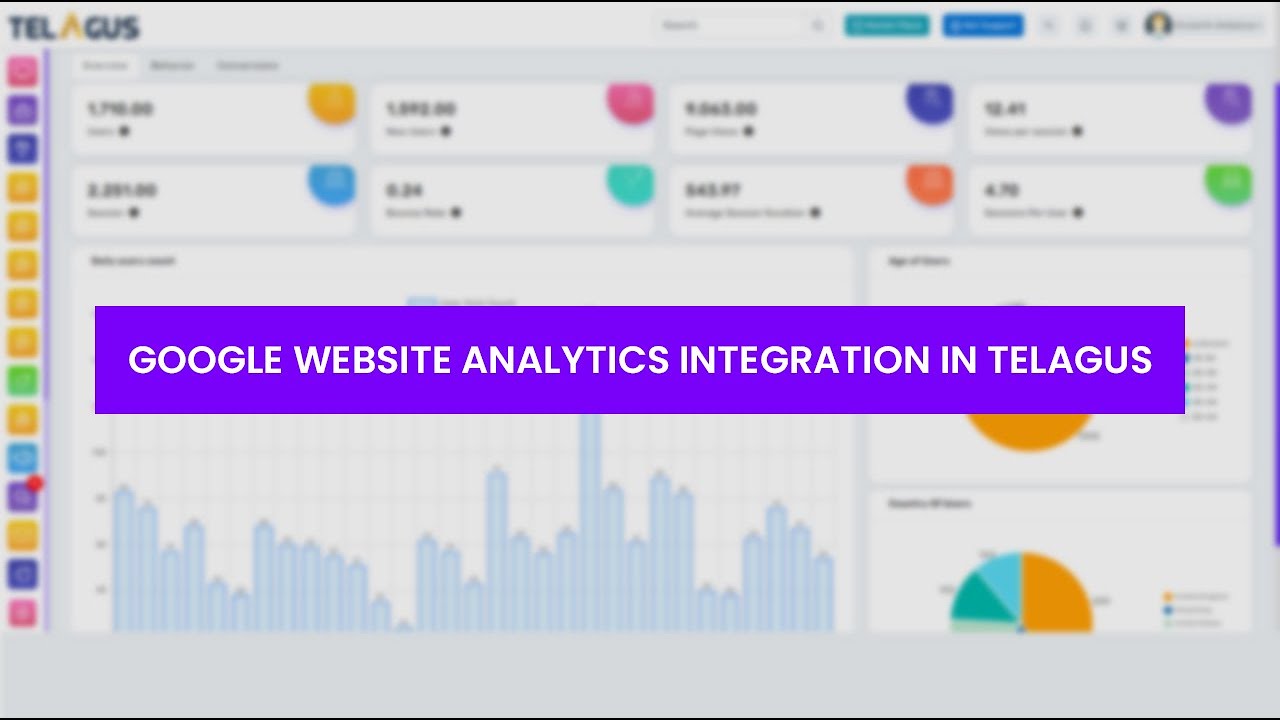
Website Analytics Integration in Telagus
Struggling with logging into Google Website Analytics through Telagus? Don’t worry, we’ve got you covered! In this step-by-step tutorial, we’ll walk you through the process to resolve common login issues and ensure a smooth connection.
🔹 Getting Started:
Connect Google Analytics: Navigate to the Website Analytics function under the Reports menu in Telagus. Click on the "Connect Google Analytics" button to be redirected to the Google sign-in page.
Sign In: Enter your Google account details that are linked with Google Analytics. Once permissions are granted, you’ll be redirected back to the Telagus Website Analytics page.
Select Your Data: Choose the website you want to view data for and set the desired date range. Click "Go" to display your analytics.
🔹 If You Encounter an Error:
Error Handling: If the sign-in fails or an error appears, click on the link provided below the error message. After logging into your Google account, select "GA4."
Delete Connections: Scroll down and choose the “Delete all connections that you have with GA4” option. Confirm the deletion.
Retry: Close the page, return to Telagus, refresh, and attempt the login process again.
🔹 Need More Help?
If you’re still having trouble, capture a screen recording or screenshots of the issue and send them to our technical support team. Just click on the "GET SUPPORT" button at the top of your screen for assistance.
Thanks for watching, and we hope this guide helps you get your Google Website Analytics working smoothly with Telagus!
Integrations in Telagus
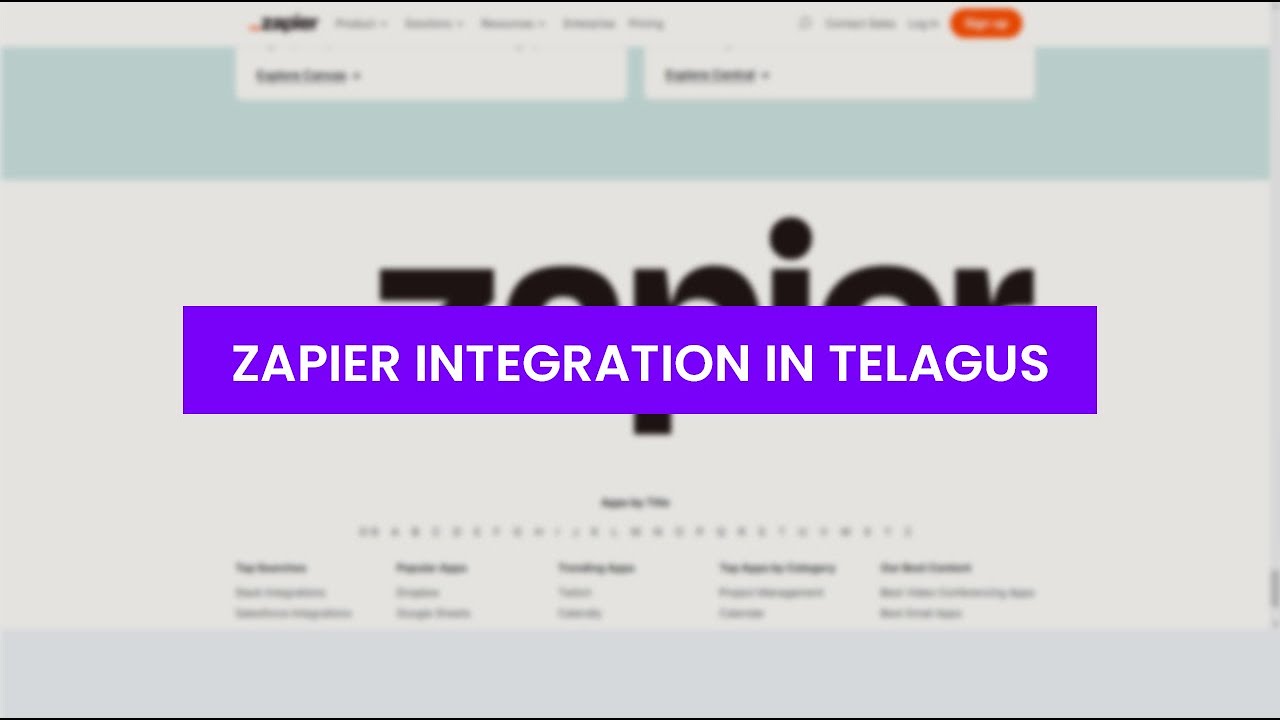
Zapier Integration in Telagus
Ready to streamline your workflow by integrating Telagus with thousands of other applications? In this video, we'll guide you through the process of using Zapier to automatically create leads in Telagus from another CRM.
🔹 Getting Started:
Create a Zapier Account: Sign up for a Zapier account if you haven’t already. This is essential for using its powerful integrations.
Log In and Create a New Zap: Once logged in, click on “Create New Zap” to start the integration process.
🔹 Setting Up the Trigger:
Choose Your Trigger App: Search for and select the app that will initiate the Zap. For this example, we’re using HubSpot.
Select the Trigger Event: Choose the event that will start the Zap. Here, we’ll select “New Contact,” which will trigger the Zap whenever a new contact is created in HubSpot.
Configure Trigger Fields: Set up your account details and any specific fields required for the trigger.
🔹 Setting Up the Action:
Choose Telagus as the Action App: In the “Action” step, search for and select Telagus.
Select the Action Event: Choose “Create Lead” as the action that should occur when the trigger event happens.
Configure Action Fields: Input your Telagus account details and map the necessary fields between HubSpot and Telagus.
🔹 Testing and Finalizing:
Map Fields: Ensure that fields from HubSpot are correctly mapped to corresponding fields in Telagus.
Test the Zap: Run a test to make sure everything is set up correctly. If the test is successful, your Zap is ready to go live.
🔹 What’s Next?
Once your Zap is active, every new contact in HubSpot will be automatically created as a lead in Telagus.
Be sure to explore more of Telagus’ learning videos to stay updated with our features and integrations.
Thank you for watching! If you found this video helpful, please like, share, and subscribe for more tips and tutorials.
User Profiles
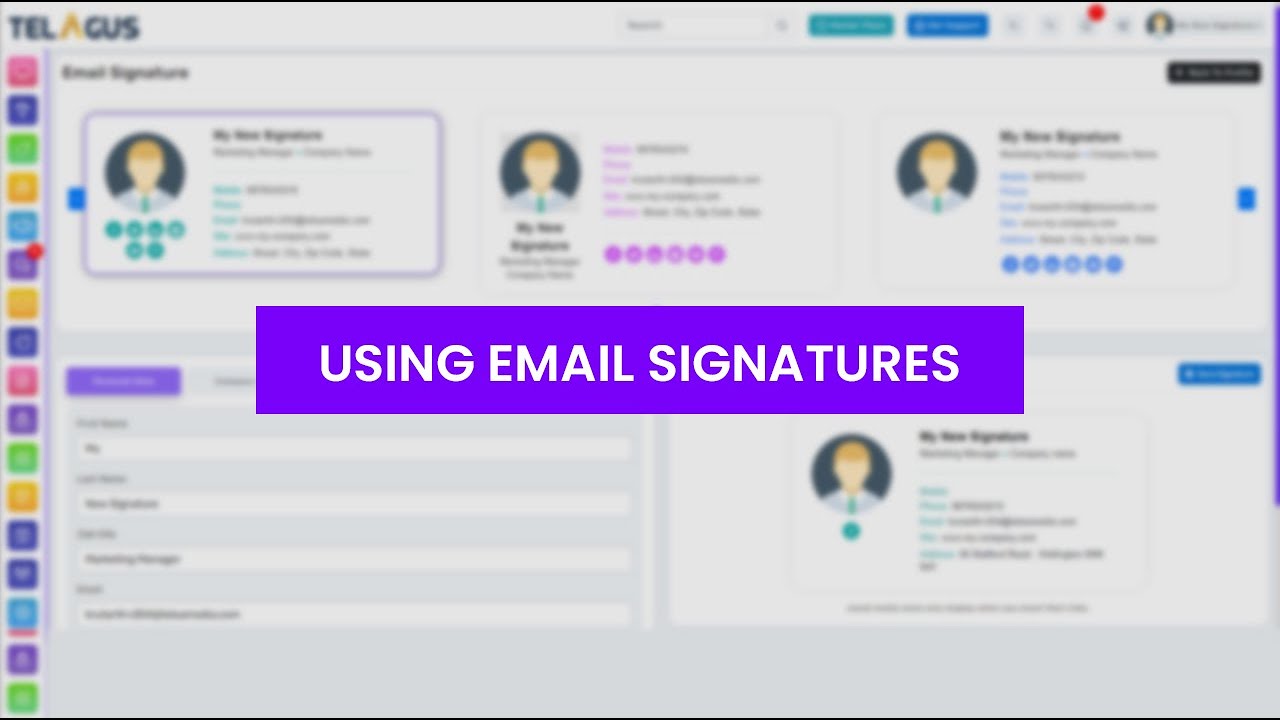
Using Email Signatures from Telagus
Hi there,
In this video, we’ll walk you through the process of creating and using different formats of email signatures with Telagus. Whether you want a custom design or prefer using templates, we’ve got you covered!
🔹 Getting Started:
Log In: First, log in to Telagus using your credentials. Click on your username in the top right corner and select “EDIT PROFILE.”
Access Signatures: Navigate to the "Signature" tab to explore the signature options available in Telagus.
🔹 Creating a Custom Signature:
Custom Signature: Click on the “Custom Signature” tab. Paste your HTML code into the provided field. The preview on the right side will update to show how your signature will appear.
Save: Once satisfied, click the “Save” button to apply the signature to your Telagus profile.
🔹 Using Signature Templates:
Template Signature: Click on the “Template Signature” tab to create a signature using Telagus’s built-in templates.
Add or Update Signature: Click “Add or Update Signature” to browse various templates. Use the navigation buttons to view more options.
Customize Template: Select a template you like and start editing:
Personal Data: Enter your First Name, Last Name, Job Title, Email Address, Phone Number, and Mobile Number. Changes will be reflected in the signature preview.
Company Data: Input your Company Name, Website, Address Line 1, and Address Line 2.
Social Media Links: Add your social media profiles (Facebook, Twitter, LinkedIn, YouTube, etc.). Icons will appear in the signature if links are provided.
Graphics: Add an image by entering the URL. If you prefer using your Telagus profile picture, right-click on your profile image, select “Copy Image Address,” and paste the URL into the Graphics tab.
Style: Customize the look of your signature by adjusting colors, fonts, and background styles. Use the “Restore Default Style” button if needed.
Save Signature: Preview your changes and click the “Save Signature” button when you’re ready.
🔹 Using Your Signature:
Create an Email: Go to “Marketing” in the left menu bar and select “Campaign.” Choose “Create Email” and decide between an Email Template or a Plain Email.
Apply Signature: Email Template: Select or create a template, go to “Settings,” and click “Select Signature” to add your signature.
Plain Email: Choose the plain email option and click “Select Signature” to apply it.
Preview: You’ll see a preview of your signature once applied.
Feel free to edit or create new signatures by following these steps anytime.
Stay tuned for more Telagus feature videos and updates.
Leads Management
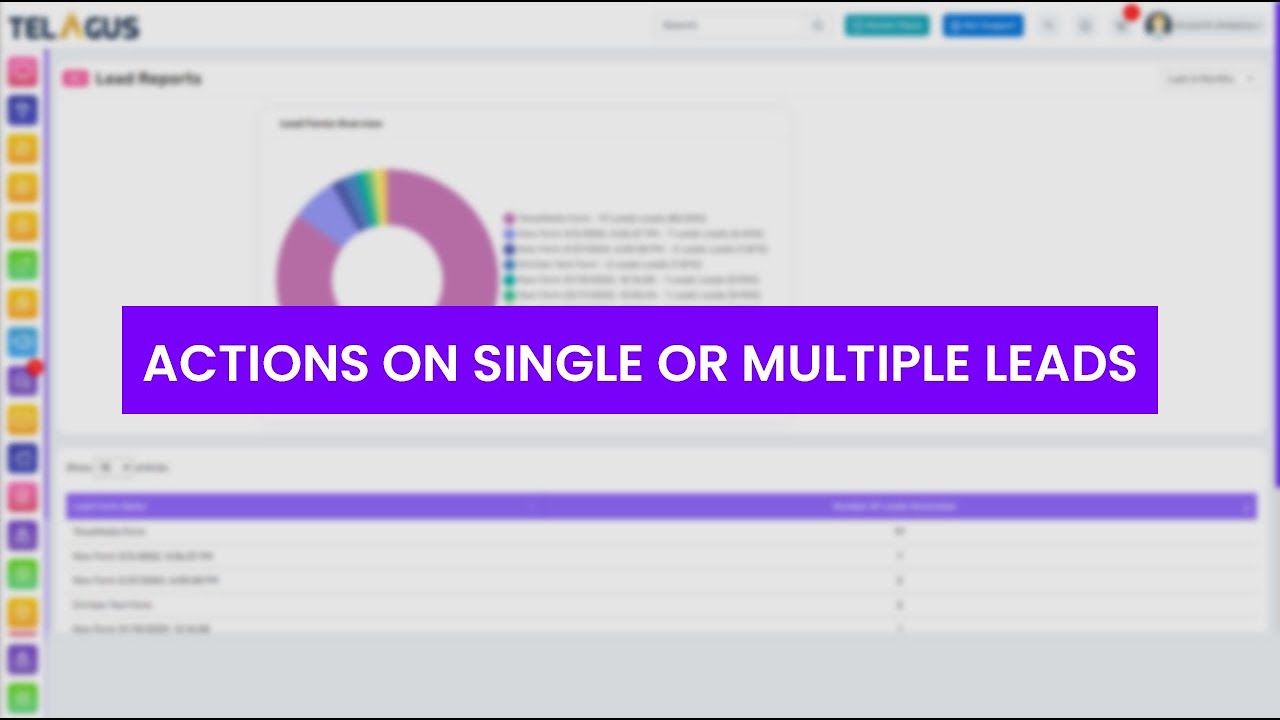
Mastering Telagus Leads: Reports, Assignment, Moving, and Deleting
Take your lead management to the next level with Telagus in this detailed video guide. Discover the extensive functionalities beyond the basics, including generating lead reports, assigning leads to team members, moving leads through your sales process, and the crucial steps for deleting leads when necessary.
This tutorial walks you through the Telagus interface, showing you how to effectively use search and filter options, sort your leads, and customize your display settings for a more efficient workflow.
Learn how to leverage the 'Lead Reports' feature to gain insights into your lead generation efforts, assign leads for targeted follow-up, and ensure your leads are always in the right stage of your pipeline. Whether you're looking to streamline your lead management practices or enhance team collaboration, this video covers everything you need to maximize your use of Telagus.
Stay tuned for more tutorials to explore all the capabilities of Telagus and keep your business growing.
Marketing
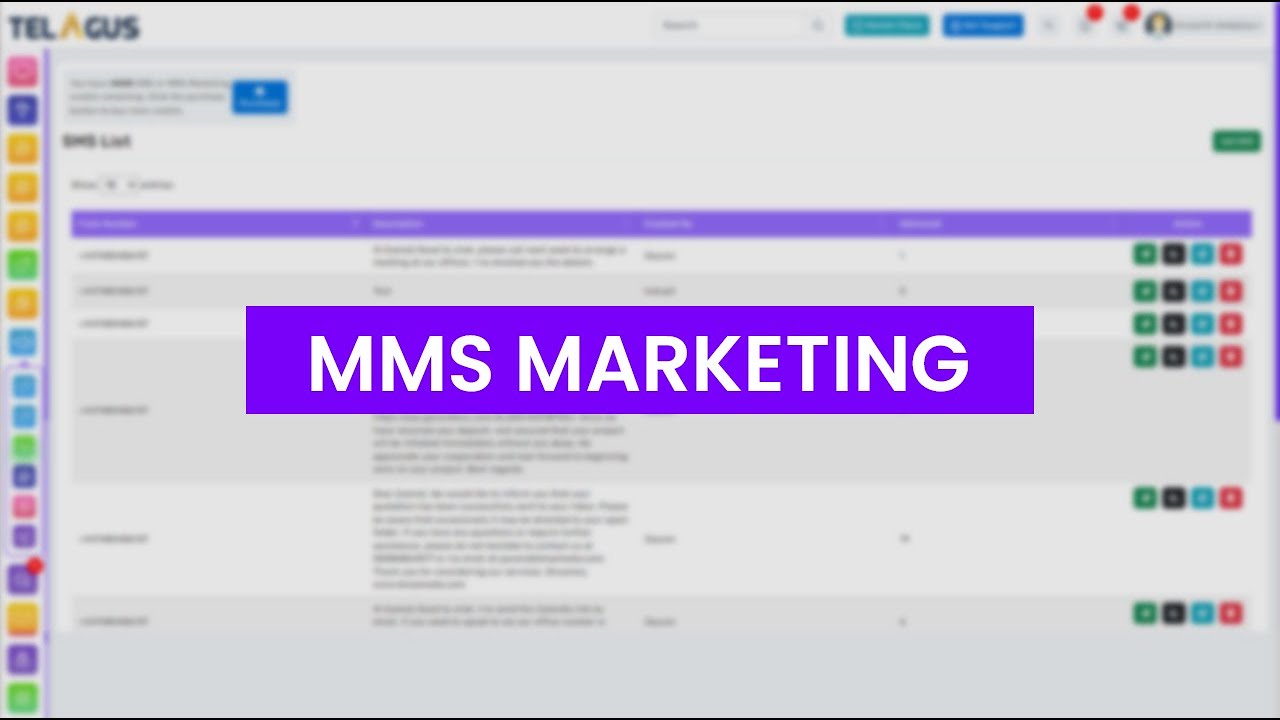
Elevate Your Marketing Game with Telagus MMS
Dive into the world of MMS marketing with Telagus and discover how to create, send, and manage your multimedia marketing campaigns with ease.
This step-by-step tutorial covers everything from purchasing MMS credits in the Telagus Marketplace to recording and sending engaging audio and video messages to your contacts.
Learn how to edit, update, and schedule your MMS for optimal engagement, and use filters to target your messages accurately. Whether you're new to MMS marketing or looking to refine your strategy, this video provides valuable insights and tips to enhance your marketing efforts with Telagus's robust MMS features.
Join us to unlock the potential of MMS marketing and make every message count!
Marketing
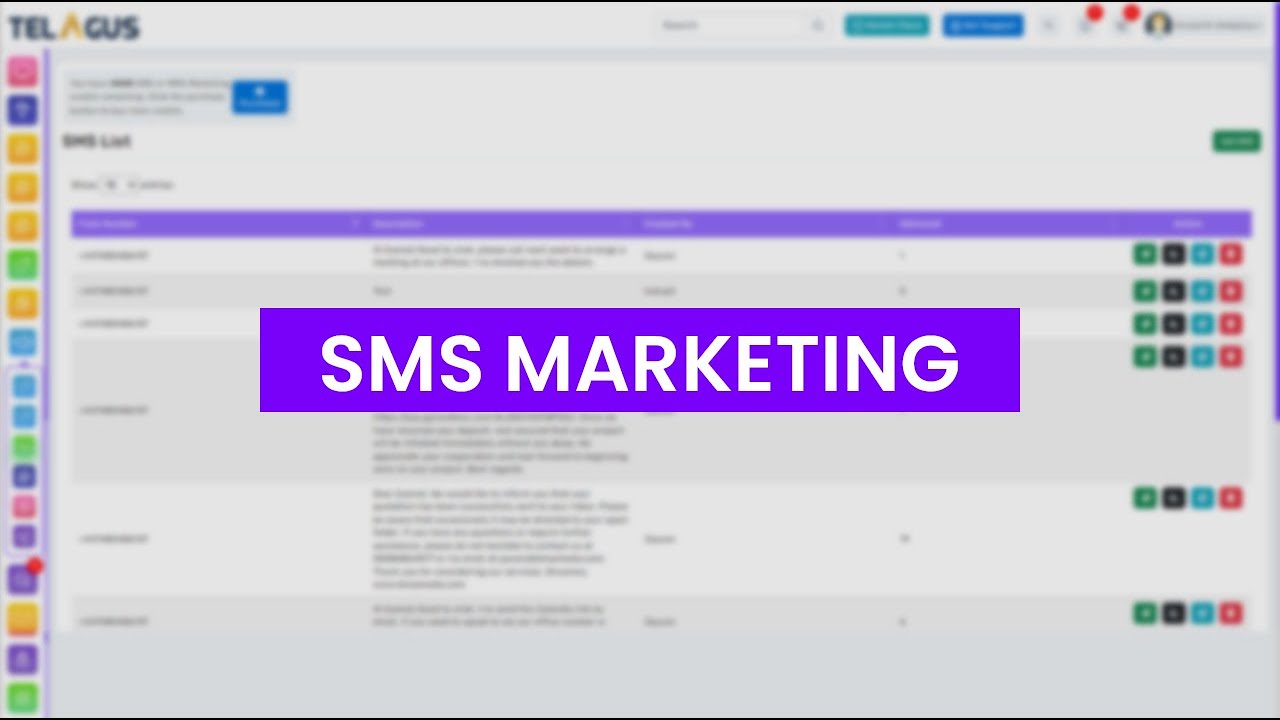
Master SMS Marketing with Telagus: A Step-by-Step Guide
Unlock the full potential of SMS marketing with Telagus in this detailed tutorial video. From purchasing SMS credits to sending personalised messages, we cover every step to ensure you can effectively communicate with your contacts and leads.
Learn how to manage your SMS campaigns, schedule messages, utilise dynamic contact names for a personal touch, and much more. Whether you're looking to engage your audience, increase your reach, or streamline your marketing efforts, this guide provides all the insights you need to leverage Telagus's SMS marketing features to their fullest.
Don't miss out on maximising your marketing impact with Telagus!
Marketing
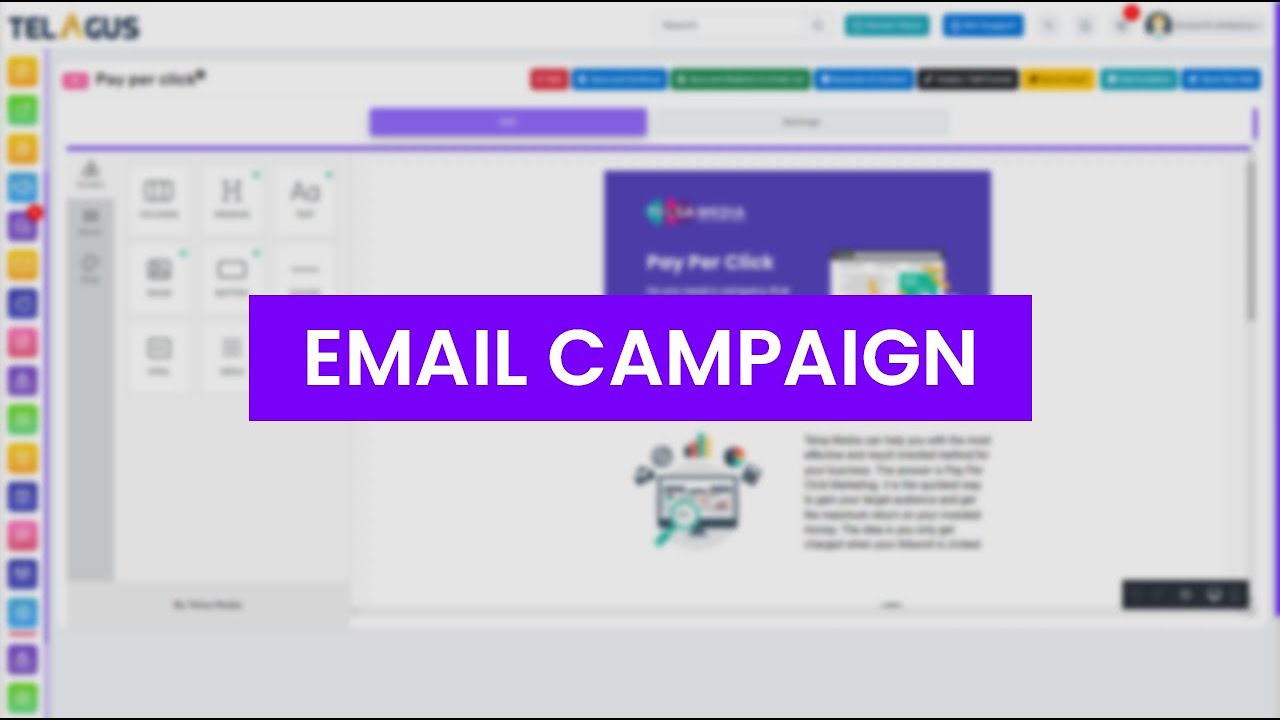
How to Setup Email Marketing Campaign in Telagus
Unlock the full potential of your email marketing campaigns with our comprehensive tutorial on Telagus!
Learn how to efficiently set up and send targeted marketing emails, manage your campaigns, and analyse their performance for optimal results. Whether you're a beginner or an experienced marketer, our step-by-step guide will walk you through the process of selecting email templates, customising your messages, and engaging with your audience like never before. Discover how to leverage Telagus to boost your marketing strategy, increase engagement, and drive conversions.
Don't miss out on the power of effective email marketing – start optimising your campaigns with Telagus today!
Telagus Home
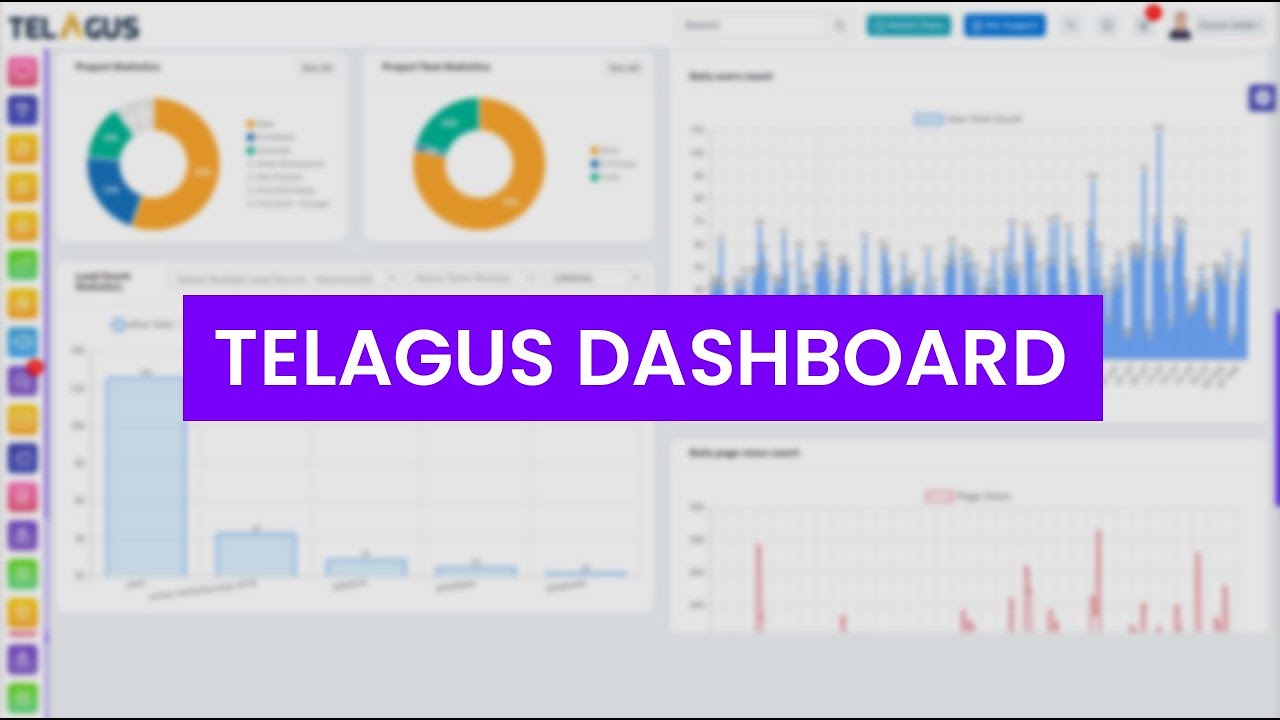
Telagus Dashboard Customisation & Widget Management
Dive into the world of TELAGUS with our comprehensive tutorial on dashboard customisation and widget management. Learn how to customise your TELAGUS experience by configuring widgets, toggling visibility and creating multiple dashboards to suit your unique business needs. Discover the power to filter data, preview widgets, and set default dashboards for seamless navigation. Whether you're tracking login times, monitoring revenue statistics, or staying updated on team birthdays and work anniversaries, this tutorial covers it all.
Follow the step-by-step instructions on how to navigate the dashboard, customise the layout and get the most out of TELAGUS' versatile features. Increase your productivity and efficiency with TELAGUS' intuitive dashboard customisation options.
Check it out now and unlock the full potential of TELAGUS for your business management needs!

Ready to see how it works?
Explore how Telagus can transform the way you manage leads, teams, and customers all from one powerful CRM platform.
